Getting Started with CronJS
Welcome to CronJS! This guide will help you get started with creating and managing JavaScript cron jobs in the cloud without any infrastructure management.
What is CronJS?
CronJS is a cloud platform that allows you to run JavaScript cron jobs in secure, isolated Docker containers. Perfect for automation, data processing, API monitoring, and scheduled tasks without the hassle of server management.
Prerequisites
Before you begin, you’ll need:
- A modern web browser
- Basic knowledge of JavaScript
- Understanding of cron syntax (we’ll help you with this!)
Account Registration
Step 1: Visit CronJS
Navigate to https://app.cronjs.com in your web browser.
Step 2: Choose Authentication Method
CronJS uses Firebase Authentication with multiple options:
- Email/Password signup - Create an account with your email
- Google OAuth - Sign in with your Google account
- Additional OAuth providers - Other social logins via Firebase
Step 3: Complete Registration Flow
- Click “Sign Up” or “Login” on the homepage
- Choose your preferred authentication method (email/password or OAuth)
- Complete the Firebase authentication process
- Verify your email address (required)
- You’ll receive a Firebase ID token automatically
- This token is used for all platform authentication
Dashboard Overview
Once logged in, you’ll see the main dashboard:
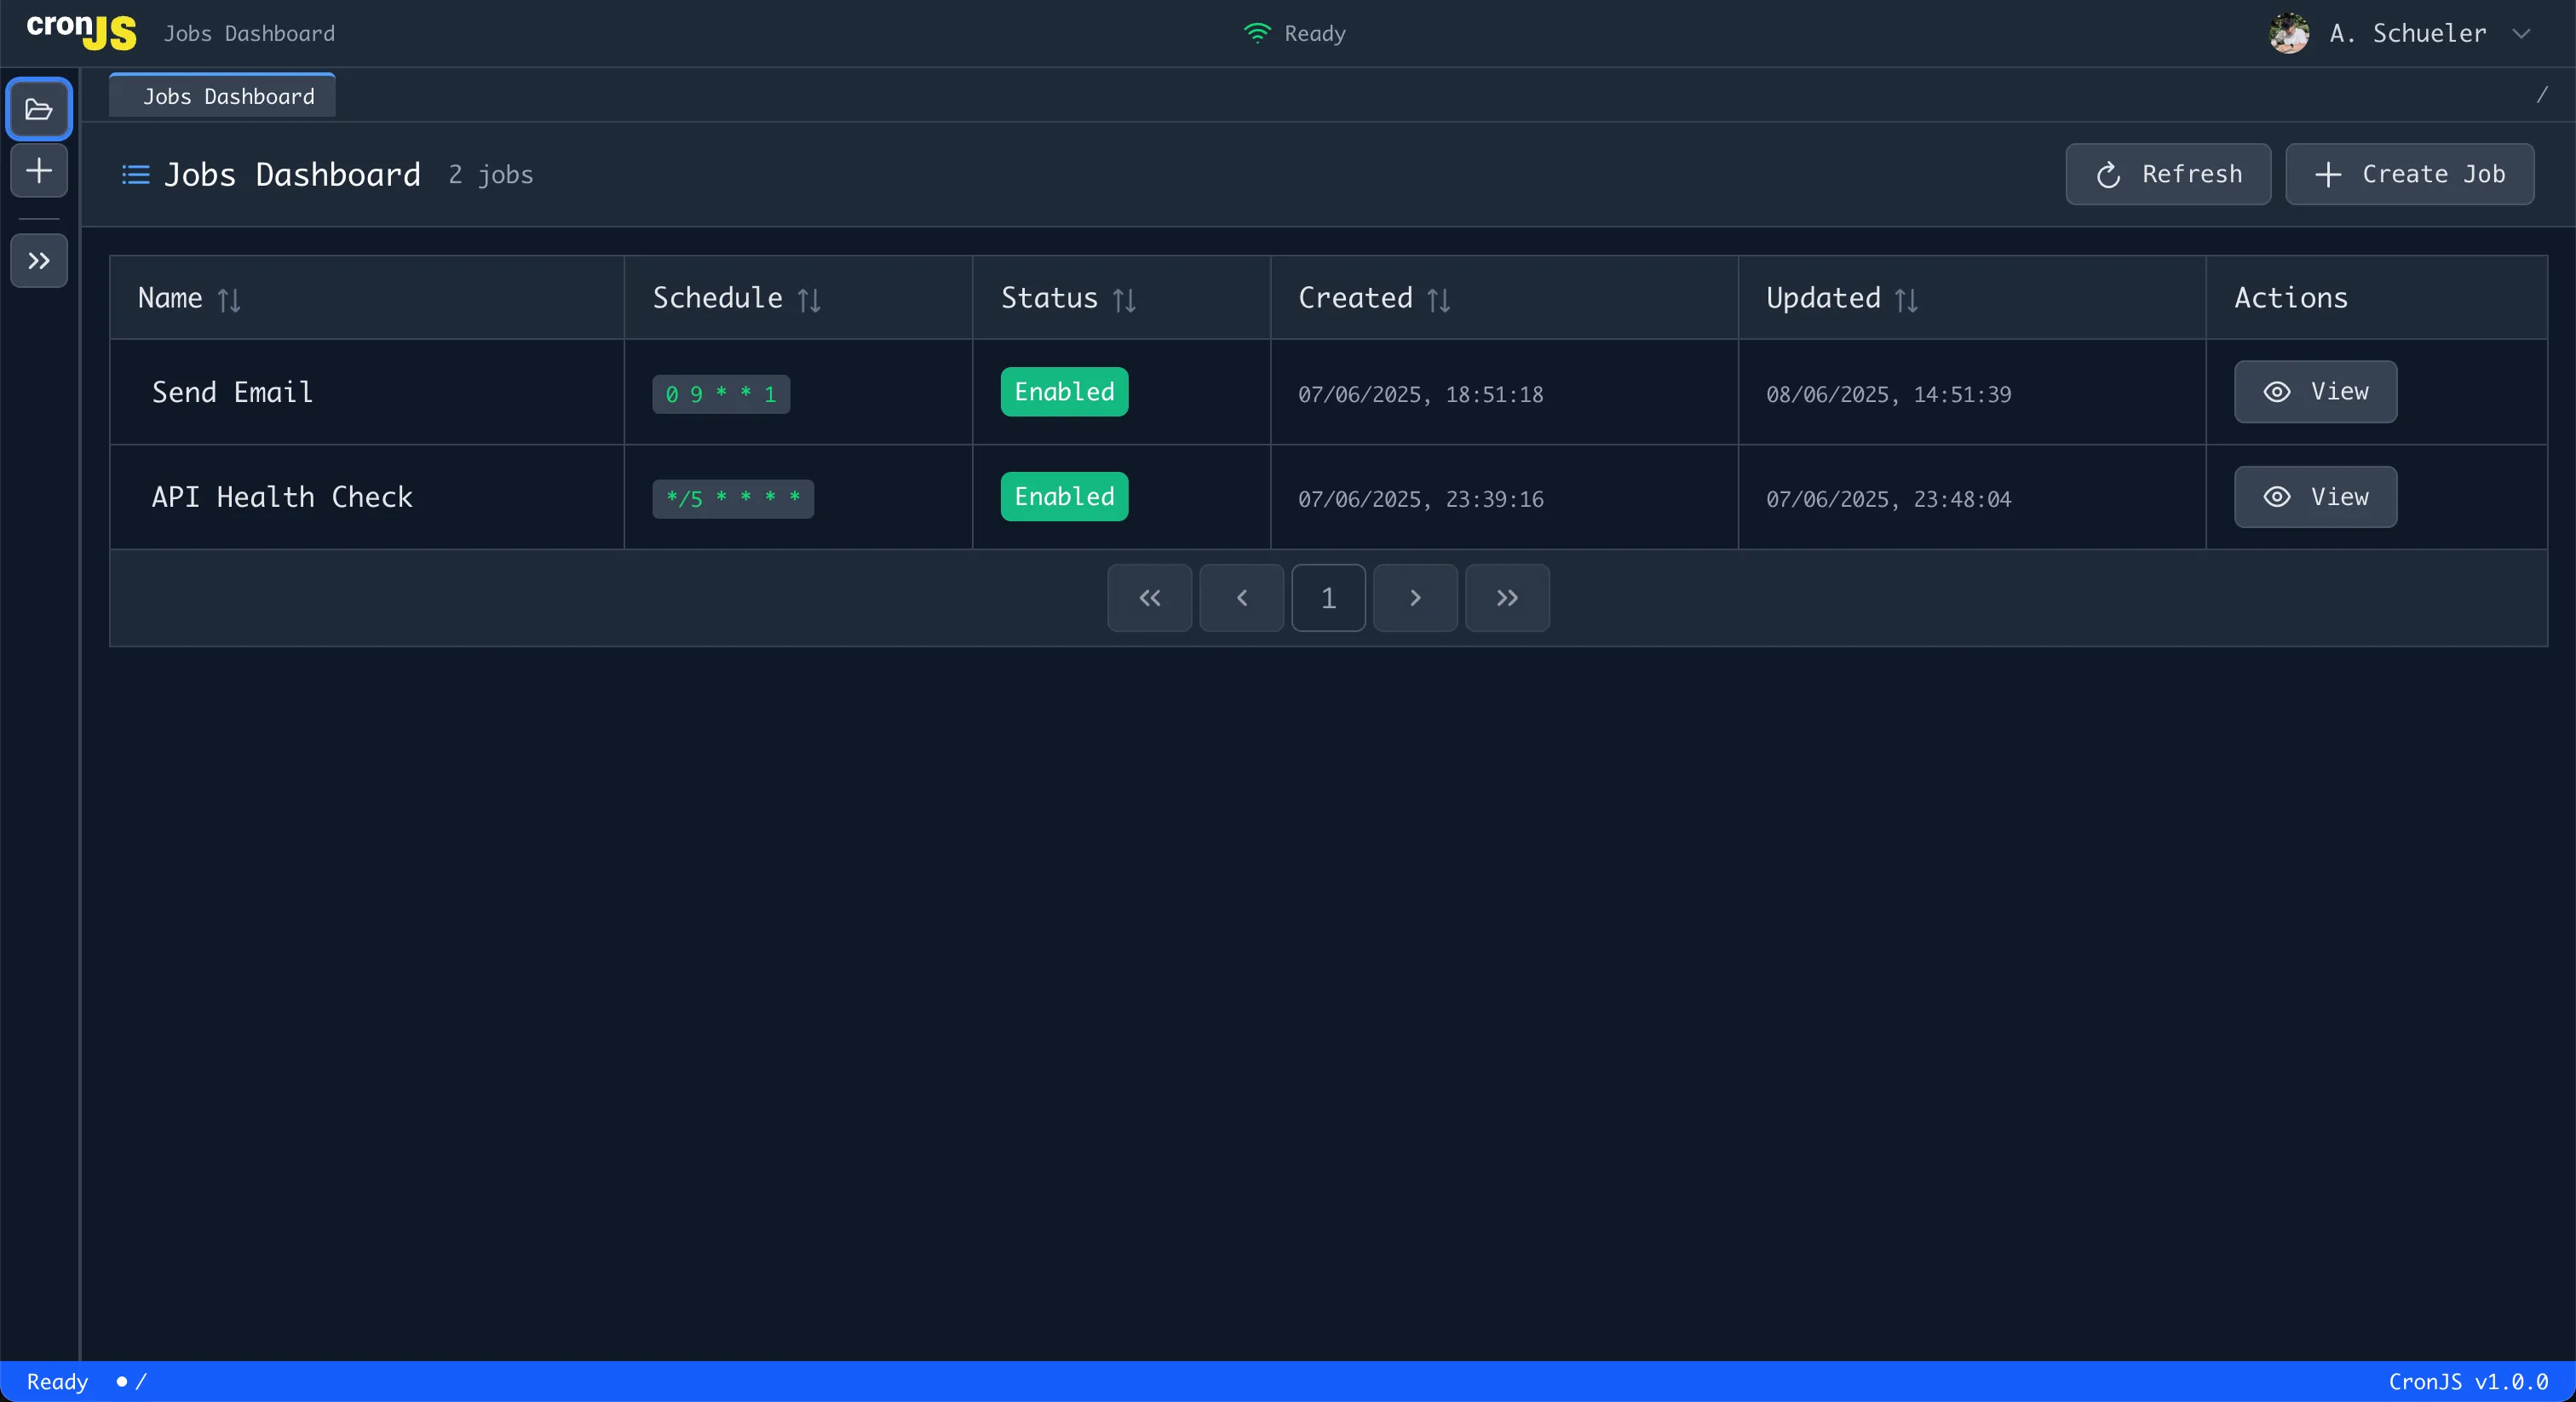
Key Features Visible:
- Jobs list with count - See all your cron jobs at a glance
- Create Job button - Start creating new jobs
- Refresh button - Update the jobs list
- Job table with status indicators - Monitor job health and execution status
Creating Your First Job
Step 1: Start Job Creation
From the dashboard, click the “Create Job” button to begin.
Step 2: Basic Job Information
- Fill in the job name - Choose a descriptive name for your job
- Choose starting point - Decide if you want to start with a blank job or use a template
Step 3: Write Your JavaScript Code
The job creation interface includes a code editor with:
- Full JavaScript syntax highlighting
- IntelliSense and autocomplete
- Error detection and highlighting
// Example: Simple logging job
console.log("Hello from CronJS!");
console.log("Current time:", new Date().toISOString());

// Example: API call
const response = await fetch("https://api.example.com/status");
const data = await response.json();
console.log("API Status:", data);
Step 4: Add Environment Variables (Optional)
Set secure environment variables for your job:
- Navigate to the “Environment Variables” section
- Add key-value pairs for sensitive data
- Variables are securely stored and encrypted
- Once saved, they cannot be viewed but can be overwritten
Access them in your code:
const apiUrl = process.env.API_URL;
const dbPassword = process.env.DATABASE_PASSWORD;
console.log("Connecting to:", apiUrl);
Step 5: Add Dependencies (Optional)
If your job needs external npm packages, add them in the dependencies section.
Step 6: Set Cron Schedule
Choose how often your job should run:
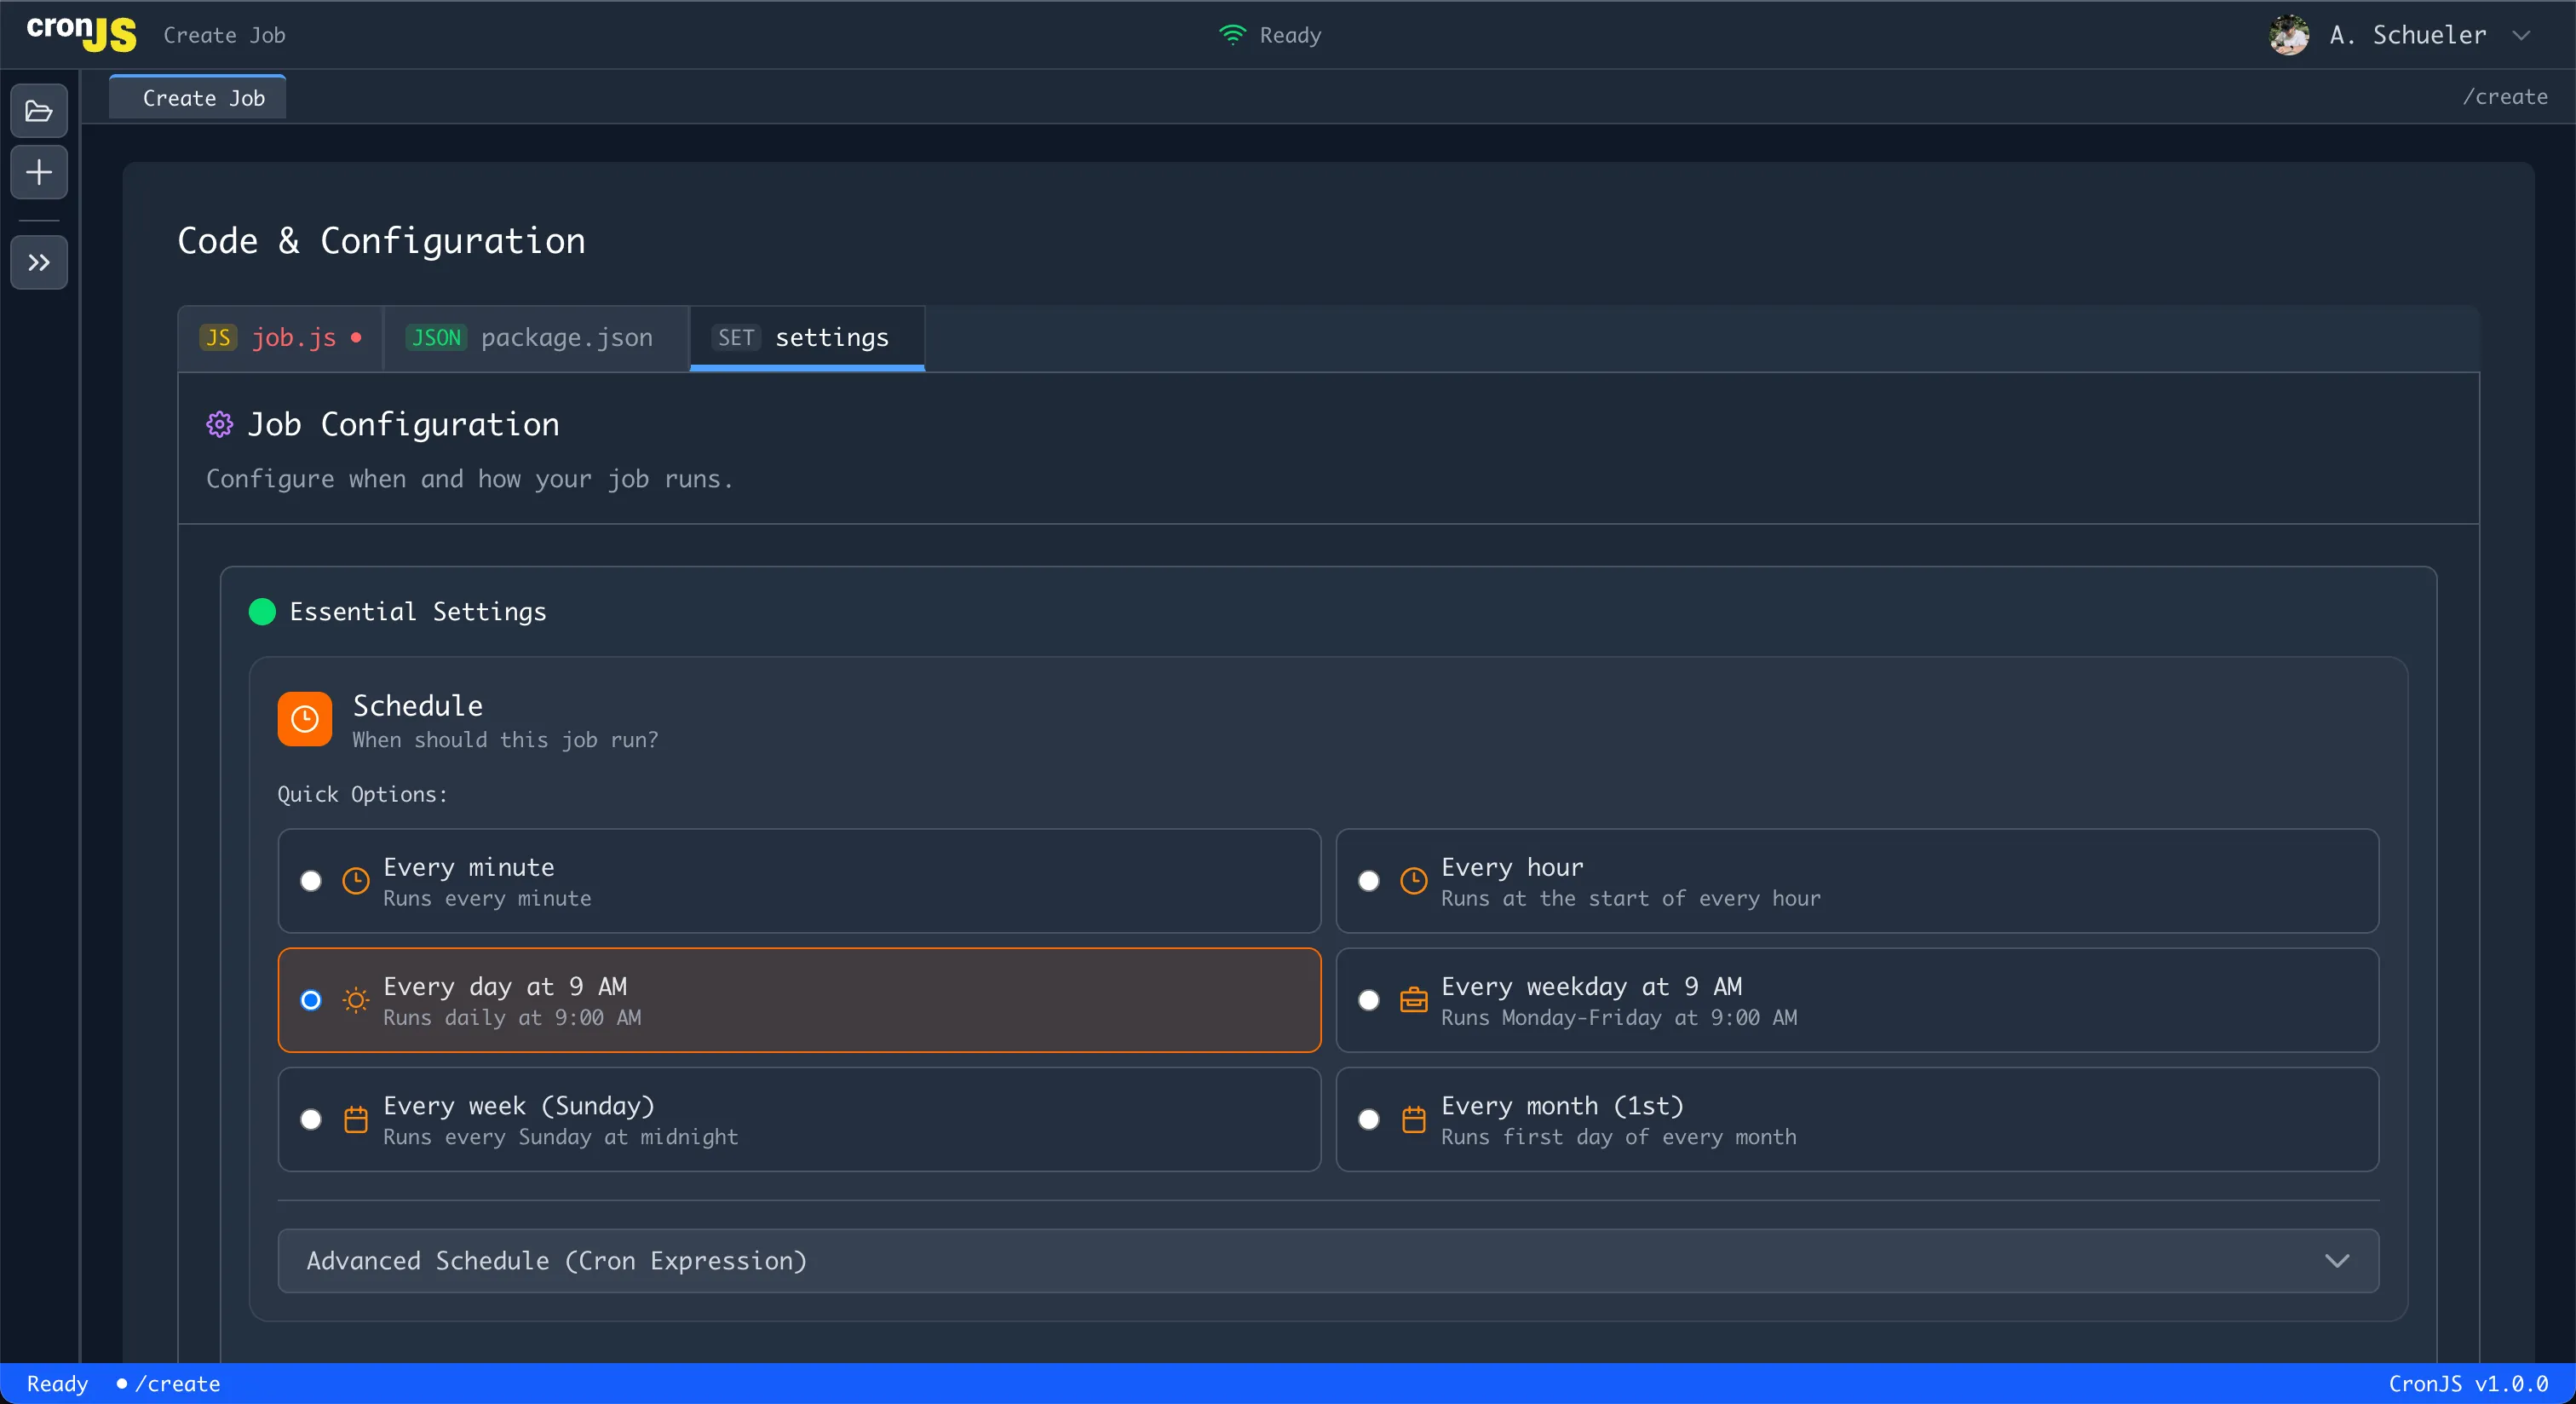
You have three options:
- Pick a preset - Common patterns like “Daily at 9 AM” or “Every 5 minutes”
- Use the visual builder - Interactive interface to build complex schedules
- Write the cron expression - Direct input for advanced users
Standard cron format (5 fields): minute hour day month day-of-week
Step 7: Configure Resource Limits (Optional)
Default limits for free tier:
- CPU: 0.25 CPU cores
- Memory: 128 MB
- Timeout: 60 seconds
Note: Higher limits available with paid plans
Step 8: Review and Create
- Review your job summary
- Click “Create Job” to save
- Your job is now created and will run according to the schedule
Testing Your Job
Manual Execution
Don’t want to wait for the cron schedule? Test immediately:
- Navigate to your job details page
- Click the “Run Now” button
- Job executes immediately
- Execution status shown in real-time
- Logs and output displayed in execution history
Viewing Execution Logs
Monitor your job’s performance:
- Job Details page shows recent execution history
- Each execution displays:
- Start/end time
- Exit code (0 = success, non-zero = error)
- Full console output/logs
- Error messages (if any)
- Execution duration
Managing Your Jobs
Enable/Disable Jobs
- Go to the job details page
- Enter “Edit” mode
- Toggle the “Enabled” radio button
- Save changes
Job Limitations (MVP)
Current limitations in the MVP version:
- No API access - Jobs managed via web interface only
- No bulk operations - Jobs managed individually
- No job stopping - Jobs run until completion or timeout
- UI-only management - No programmatic API yet
JavaScript Environment
Your jobs run in a secure, isolated environment:
- Node.js: Latest LTS version
- Pre-installed packages: Base system packages
- Custom packages: Via package.json dependencies
- File system: Temporary filesystem only (no persistent storage)
- Network access: Full internet access allowed
- Isolation: Each job runs in its own Docker container
Common Use Cases
Website Monitoring
const response = await fetch("https://yoursite.com/api/health");
if (!response.ok) {
  console.error("Site is down!");
  // Send alert notification
}
Data Synchronization
// Fetch data from API
const data = await fetch("https://api.source.com/data");
const jsonData = await data.json();

// Process and send to destination
await fetch("https://api.destination.com/import", {
  method: "POST",
  body: JSON.stringify(jsonData),
});
Daily Reports
const today = new Date().toISOString().split("T")[0];
console.log(`Daily Report for ${today}`);

// Generate and send report
const report = await generateDailyReport();
await sendEmailReport(report);
Next Steps
Now that you’ve created your first job:
- Monitor execution logs - Learn to debug and optimize
- Advanced scheduling patterns - Master complex cron expressions
- Environment best practices - Secure your jobs
- Troubleshooting guide - Solve common issues
Need Help?
- Common issues: Check our Troubleshooting Guide
- Email support: [email protected]
- Documentation: Browse our comprehensive guides
Welcome to the CronJS community! 🚀